You’ve likely heard me express my love for tassels once or twice, or maybe ten times! They are such a fun detail, and right now completely on trend, which is perfect for me. I was recently in a store and was looking at a few options for a tassel necklace; but you know me and my visions, nothing matched what was in my head. So, I decided to make my own!


I bought a vintage chain (with a locket!) from a flea market here in Chicago. Then I tasked my mom with the tassel creation. (Thanks Mom!) Lastly I placed the tassels exactly where I wanted them and tied them to the chain.


My tassel necklace would have been lonely by itself, so I decided a matching bracelet was a must. I bought this chain from Hobby Lobby, removed the tassels that came on it, added my own and added a clasp.


Should you decide you need a tassel necklace and/or bracelet of your own, here are the steps you will want to follow.
- Buy a chain. I wanted a layered look and was lucky enough to find the exact chain I needed. You could always layer multiple chains if you have trouble finding a single necklace with multiple chains. Remember, you will need something to tie the tassel to, so a chain with some sort of loop or opening is ideal.

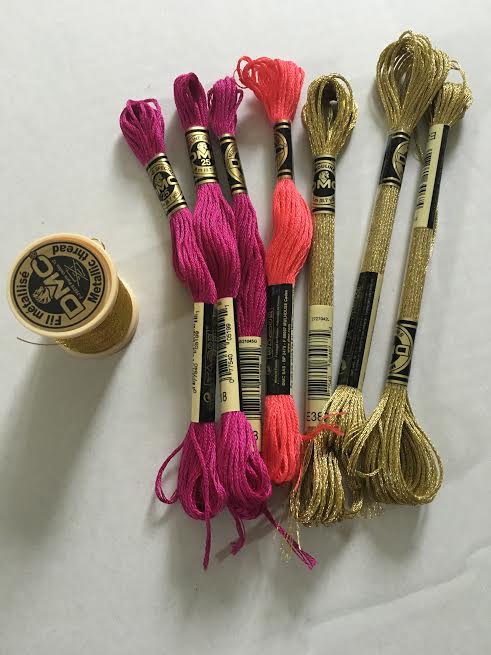
- Buy embroidery floss to for your tassels. They have so many colors, you can be wild and crazy or more demure. Your choice!
- Create the tassels. All you need a piece of cardboard to wrap the embroidery floss around. Once you have done this, just clip the loop to make the fringed edge, then trim to the length you want.

- Attach tassels to your chain. You will want to double or triple knot the embroidery floss, then add a drop of Elmer’s Glue. Once dry, the glue (which dries clear) will ensure your knot doesn’t come undone and you don’t become tassel-less. I attached my chain, with pins, to a cushioned chair. This allowed it to hang properly, so I knew where I wanted to place the tassels.


Signed with Style,
![]()
