I made a very big purchase in the fall of 2018. One that took a lot of time, energy and thought. A purchase that brought tears, frustration and maybe an ulcer (not really, but I thought it might lead there). It was the most “adult” purchase I have ever made and one that I am extremely proud of. I bought my very own condo in Chicago! I found out that buying a home is one of the most stressful times of life but also one of the most rewarding.
The rewards pay off in many ways, but a big one for me is making my place my own. I actually got lucky that the condo was already very much my style, because I was already the tenant. I purchased the condo I had been renting for 5 years, after learning that my landlords would be selling. I did debate going elsewhere and renting, or even buying elsewhere, looking at many apartments and doing lots of research. But in the end, the place I had already spent years making home won! And like I said, it was my style – for the most part. As anyone who has rented knows, you never find everything you like. One of those “disliked” spaces for me in my condo has always been the kitchen. Overall, it’s been a nice kitchen, but it’s just never been mine. The big hang up was the dark walls and brown tile backsplash. Granted, it was glass tile, so it was pretty for someone at sometime I am sure, but it just didn’t do anything for me.
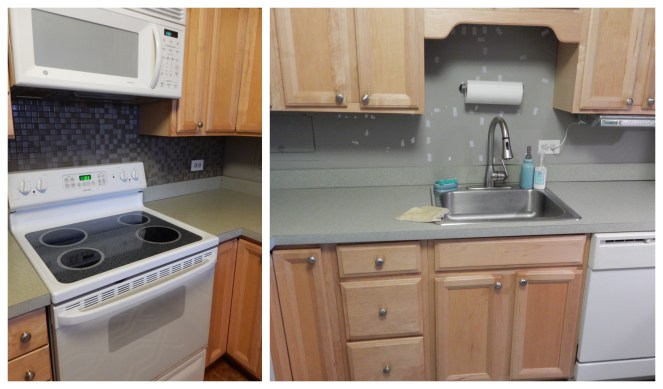
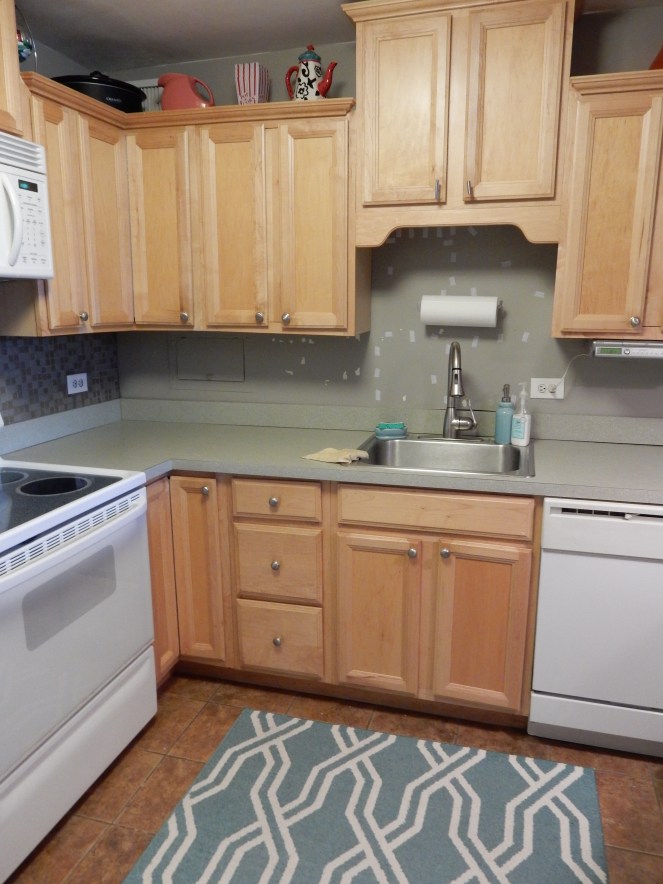
With all of that said, I knew the kitchen would became homeowner project #1. It was the one thing I knew I wanted to do as soon as possible, to really give me a fresh start (even though I didn’t move) and put my true stamp on my home. And what a difference it made!
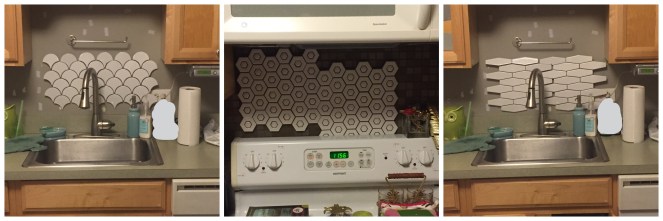
But, the story doesn’t start and end that easily. I am an indecisive person so picking the tile was a bit of a process. But, I think it was a good one, because I knew exactly what I wanted in the end. I started by browsing tile in local stores and online. I then bought samples and hung them in the kitchen using heavy duty velcro. I probably ended up buying eight samples before all was said and done, but I was able to look at them in different light and over time, so I knew the one I picked would be the one I truly loved.
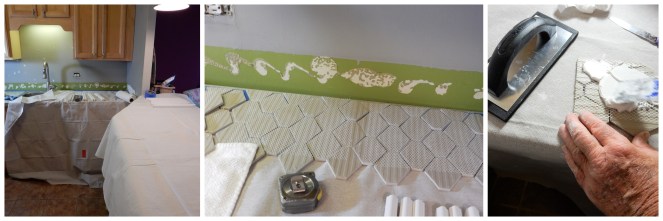
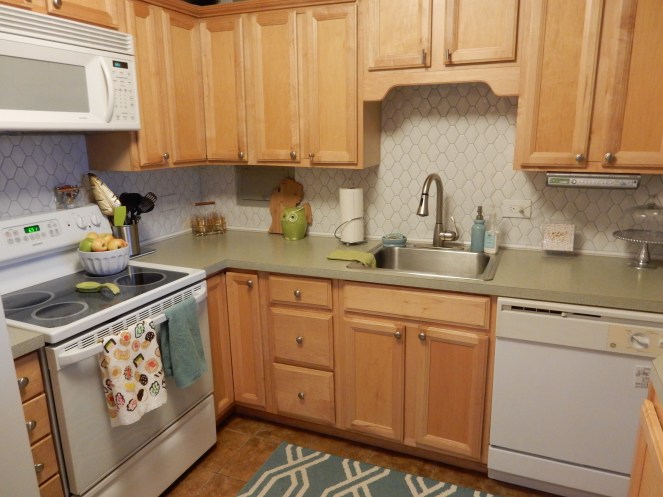
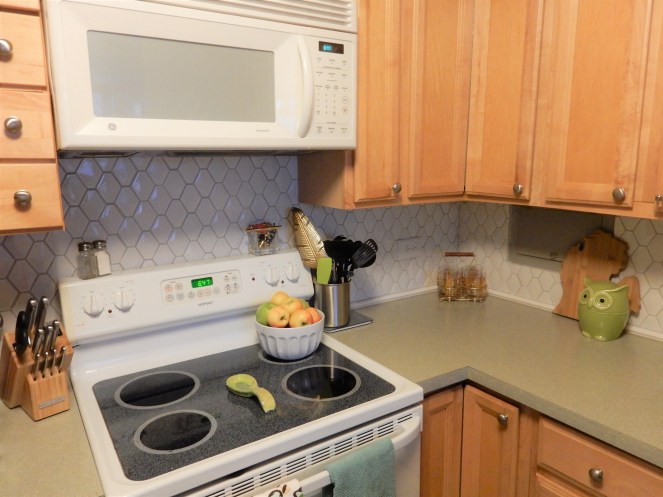
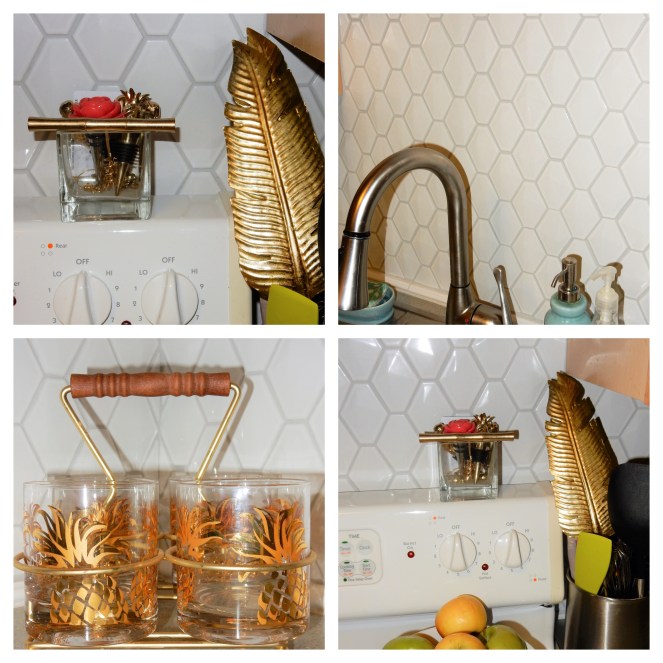
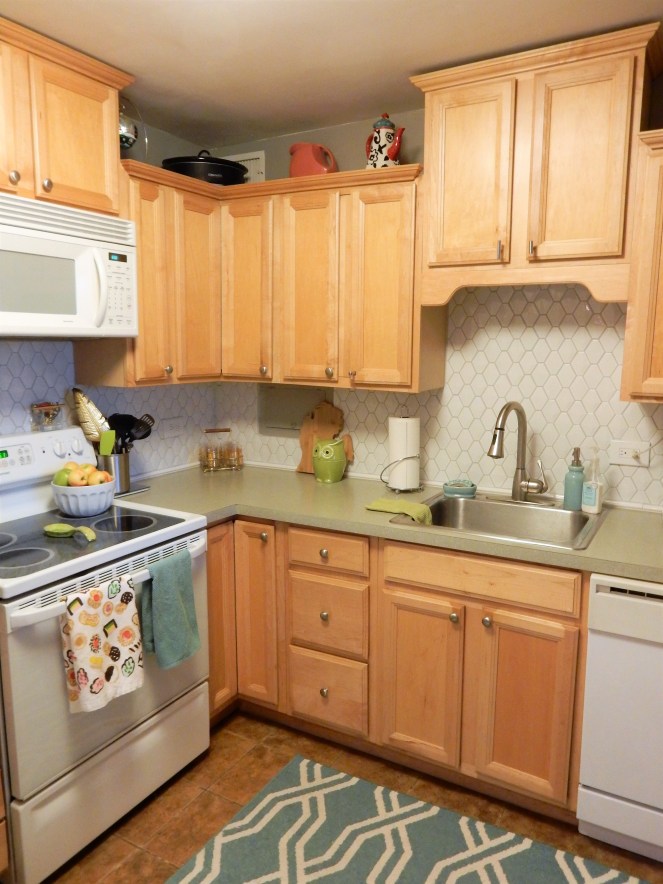
My final choice was actually my initial choice. I fell in love with the style instantly. I probably should have picked sample one and been done, but seeing others and coming back to “mine” really proved to me that it was my favorite and I wouldn’t tire of it over time. My style is a mix of mid-century modern and traditional and this was a great blend of the two – giving my somewhat country looking kitchen a modern update. Choosing a bright white with angles that cast shadows in soft grey, also really lightened up my kitchen, while adding depth too. I had originally thought I would want to paint the cabinets too, but once the tile was up and the cabinets looked new too. It’s hard to believe just one update (tile) gave a completely fresh look to an otherwise cookie cutter kitchen.
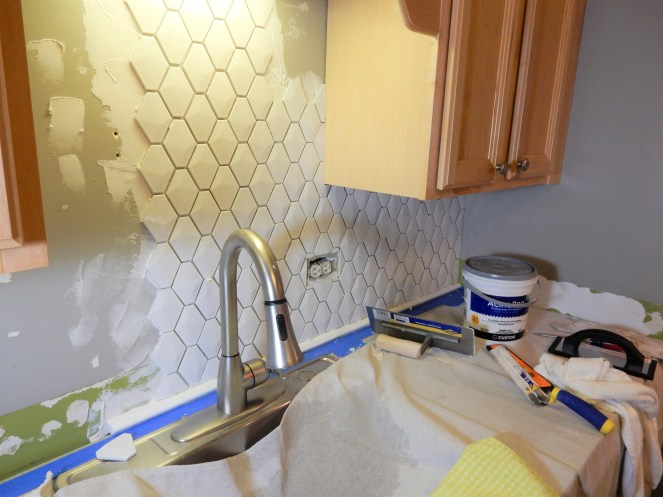


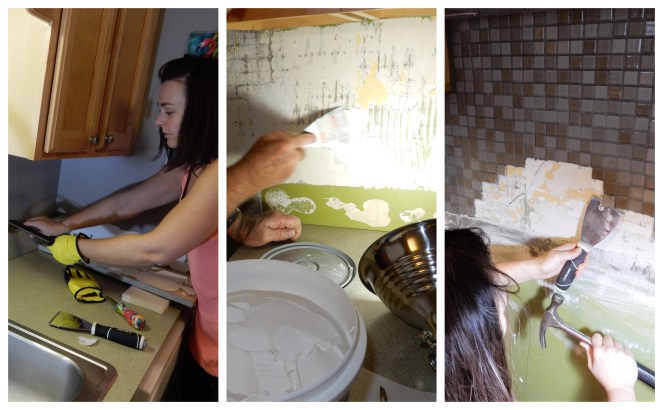
The biggest thing with tiling though isn’t picking the one you want, or loving it afterwards, it’s installing it. It’s definitely a chore and one I am SO thankful my dad volunteered to help me with. Not only did we get to have fun (he may not call it that!) working on this project together, but he also helped save me a lot of money should I have had to hire a tiling crew. It was a project that took about 3 days over Thanksgiving, and we definitely put in A LOT of work. But now, every time I walk into my kitchen I’m smiling from ear to ear. I love it and it makes me feel truly at home. My home!

Tips for Tiling:
- Get samples. Even if you have to pay for them and return them later. It’s the best way to know what you like. And buy more than one sheet of each sample. You will get a more accurate sense of what the tile will look like when complete.

- Measure to find out how much tile you need, then order double that amount. My tile came from Home Depot and initially I ordered five boxes, thinking I would need three. However, almost all of the tile was chipped. I had to order 7 more boxes to make sure I had enough. I then returned what I did not use and the chipped tile they had sent me.
- Plan ahead. If you are setting aside a certain time for the project or hiring a crew, make sure you order your tile plenty of time in advance.
- Do the demo yourself! You don’t have to be overly handy to remove old tile, wallpaper or whatever is on your walls now. Make sure you are being safe and use the proper tools and you can save yourself money you’d otherwise need for a demo crew.
- Patch the walls. Whether you are removing old tile, wall paper, or neither, make sure you give yourself the best possible surface to work with.
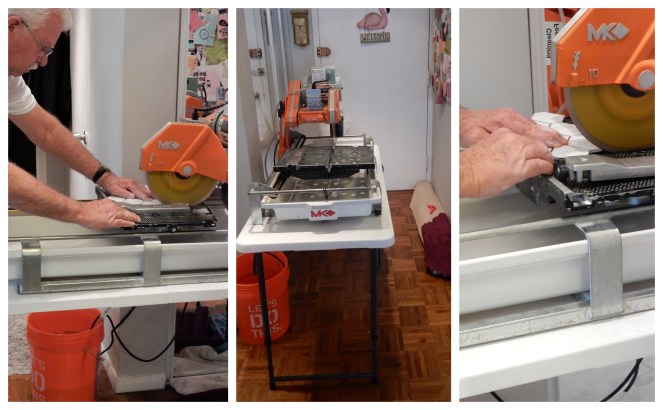
- If you are not familiar with saws, hiring a pro is the best way to go. We rented a wet saw from Home Depot which was pretty inexpensive and was relatively easy for my dad to use. But, he has been working with tools his whole life, so he was confident in his skills and got great instructions from the crew who we rented it from.
- Putting the tiles on the wall is more challenging depending on the shape of your tile. If you want easy, pick a subway tile. If you want what you love, get help from a pro to make sure it all aligns properly. (Or my dad – but good luck, I think he only does kitchen makeovers for his daughters!)
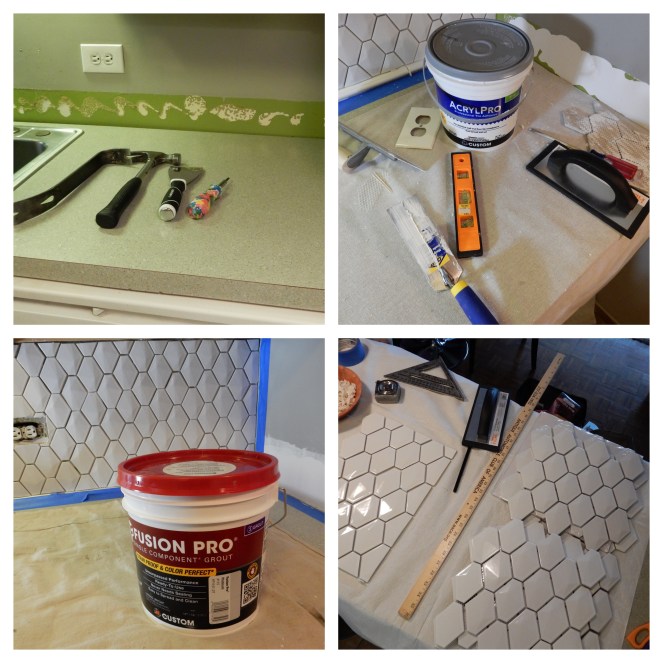
- Make sure you have all the tools you will need. I recommend the following…
- Clamp Light & Extension Cord – Since we were working with and around electrical outlets the power in my kitchen was out half of the time, so light was at a minimum. The clamp light worked perfectly affixed to my cabinet doors.
- Gloves – Tiling is dirty work, especially with the wet saw and the grout. Protect your hands!
- Hammer & Pry Bar – To remove old tile.
- Yardstick, Set Square (Triangle), Level & Measuring Tape – Remember the age old rule…Measure twice, cut once.
- Wax – Easily lets you make your marks and measures on tiles, then wipes off smoothly.
- Putty Knife & Padded Trowel – Perfect for putting grout and adhesive onto tiles. A padded trowel is especially useful after you have tiled to firmly pat the tile down.
- AcrylPro Tile Adhesive – This working really well for us. This is what you use on the wall that the tile will adhere to.
- Fusion Pro Grout – This is what you use after the tile is adhered to the wall to fill in the cracks. I went with a light gray and am very happy with my choice! It gives just enough of a shadow and a little dimension, without being too dark and dramatic.
- If you are doing your tiling project over a holiday weekend, realize the stores won’t be open for last minute supply runs. Be sure you have everything you need in advance, double up on items if that makes you more comfortable. Remember, you can always return what you don’t use.
- Be safe, have fun and enjoy the project. All the hard work is worth it in the end!
P.S. If you live in Chicago and need a realtor, I highly recommend mine!
See more of my home here, here and here.
Signed with Style,
![]()

Thank you!! Love that I can tackle these tasks on my own.
LikeLike